
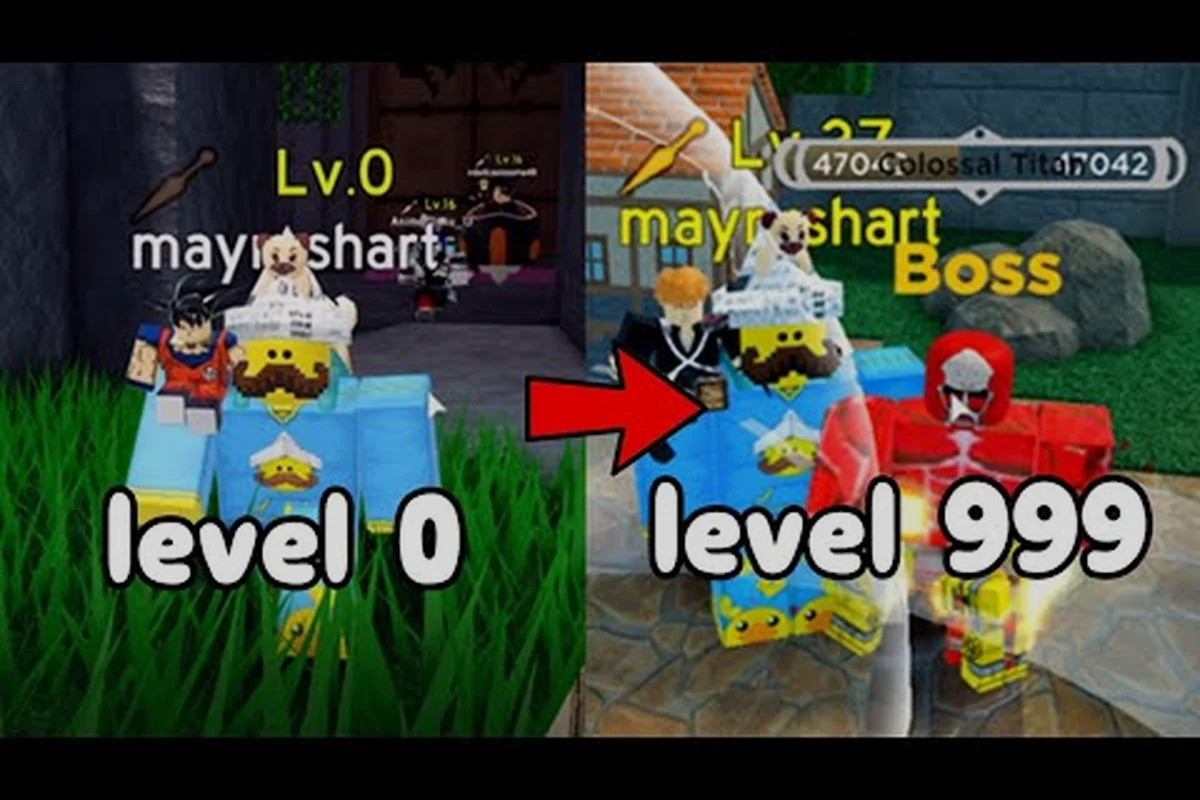
Learning astd how to play doesn't require hours of trial and error if you understand the core loop from the start. Every match in All Star Tower Defense follows a predictable rhythm: place units, earn cash, upgrade at the right moment, and survive the wave. This astd gameplay guide breaks down that loop into actionable steps so you stop leaking enemies and start banking wins. Get the fundamentals right, and you'll clear Story Mode stages that trip up most new players.
The Core Gameplay Loop Explained
Every round in All Star Tower Defense follows a five-stage cycle that repeats until you clear the stage or lose all your lives. Understanding this cycle is the foundation of any all star tower defense walkthrough, because every decision you make should map back to one of these stages.
The loop starts with unit placement, where you spend gold to summon characters onto the map. Next comes the enemy approach, where units automatically attack anything in range. Then you collect cash rewards from kills, which fund your next moves. After that, you decide between upgrading existing units or placing new ones. Finally, you brace for the next wave, which brings tougher enemies and higher rewards.
| Loop Stage | What Happens | Player Action |
|---|---|---|
| Placement | Units appear on the field and begin attacking | Choose the right unit for the lane position |
| Engagement | Enemies walk the path and take damage | Monitor unit performance and target priority |
| Cash Collection | Kills generate gold and sometimes gems | Decide when to save vs. spend |
| Upgrade Window | Between waves, upgrades unlock new attacks | Spend gold on your strongest damage dealers |
| Wave Transition | Next wave spawns with stronger enemies | Reposition or add units to cover weak spots |
The key insight that most astd tips for new players miss is that upgrade timing matters more than unit rarity. A well-timed upgrade on a common unit can out-damage a rare unit placed too late. Because enemies scale quickly, your gold efficiency in the first five waves determines whether you can afford the high-tier units that carry late-game stages.
Unit Deployment Fundamentals
Deploying units correctly is the first skill you need to master in this astd gameplay guide. Units in All Star Tower Defense have three core attributes: range, damage type, and attack speed. Each attribute determines where and how you should place that unit on the map.
Range and Positioning
Range is the most misunderstood stat for beginners. A unit with long range can cover multiple path segments, while short-range units need to sit right on the curve. Check the range circle before confirming placement, because positioning errors cost you lives that you can't get back. Most maps have a few high-value spots that cover both the entrance and the exit, and learning those spots is part of the all star tower defense walkthrough experience.
Damage Types and Enemy Weaknesses
Enemies in ASTD have different armor values, and some units deal piercing damage while others deal explosive damage. Piercing attacks hit multiple enemies in a line, while explosive attacks damage everything in an area. You need both types in your loadout, because armored enemies resist piercing damage while swarms of weak enemies waste explosive damage.
| Unit Type | Best Against | Weak Against | Ideal Placement |
|---|---|---|---|
| Single-Target DPS | Bosses and high-HP enemies | Large swarms | Near the end of the path |
| Splash/AOE | Groups of weak enemies | Armored targets | At path curves |
| Support/Buff | Boosting nearby units | Solo enemies | Center of your formation |
| Slow/CC | Fast enemies | Stationary targets | Early in the path |
A common mistake in astd how to play is placing all your damage dealers at the front of the map. That works for the first few waves, but later enemies have enough HP to walk through your entire formation. Spread your units along the path so that every segment of the lane has coverage, and keep your highest DPS units near the end where enemies are weakest.
Economy Management and Upgrade Strategy
Gold is the lifeblood of every match, and managing it well separates solid players from great ones. This section of the astd gameplay guide focuses on the economy systems that drive your progression through each stage, but it’s not just about hoarding cash—it’s about timing your spends. For example, in early waves, saving for a high-cost unit like a maxed-out starter can stall your defense, while dropping 200 gold on a cheap AoE unit lets you bank interest and snowball into a stronger late-game setup. Every upgrade you buy is a trade-off between immediate wave survival and long-term income growth, so prioritize units that pay for themselves through wave clears before splurging on expensive buffs.
How Cash and Gems Work
You earn cash from every kill, and you earn bonus cash for clearing waves without leaking enemies. Gems are rarer and drop from bosses or special enemies, and they unlock premium upgrades and summon gate pulls. The summon gate lets you unlock new units, and it refreshes every hour according to the official game description on All Star Tower Defense on Roblox.
Upgrade Priority Framework
Not all upgrades are equal, and spending gold on the wrong unit can sink your run before the mid-game boss waves. To maximize your economy, follow this priority framework: first, max out your main DPS unit’s damage and range upgrades, since these directly scale your clear speed and boss-kill potential. Second, invest in a single reliable income generator (like a farm or band) to sustain future pulls, but only after your core attackers can handle the current wave. Avoid spreading gold across multiple units early—each wasted upgrade delays your critical breakpoints, like unlocking your 6-star form by wave 15. As a rule of thumb, if an upgrade doesn’t boost your primary damage dealer or your gold-per-second, skip it until you’ve secured both. This ensures every coin pushes you closer to a stable defense, rather than leaving you with a squad of half-upgraded units that crumble under pressure.
-
Upgrade your main damage dealer first — the unit that deals the most damage per second should get every upgrade until it reaches its final form.
-
Add a second damage type before wave 10 — coverage matters more than raw power once enemies start mixing armor types.
-
Delay support units until your DPS is solid — buffs are useless if your damage dealers can't kill anything.
-
Save 10-15% of your income for emergencies — if a wave leaks, you need cash to place a last-second unit.
| Wave Range | Gold Priority | Unit Count Target | Upgrade Level |
|---|---|---|---|
| Waves 1-5 | Save for a strong core unit | 3-4 units | Level 2-3 |
| Waves 6-10 | Max out your main DPS | 5-6 units | Level 4-5 |
| Waves 11-15 | Add splash damage coverage | 7-8 units | Level 5-6 |
| Waves 16+ | Fill gaps and max upgrades | 9-10 units | Level 7+ |
The upgrade system in ASTD works on a linear path: each unit has a set number of upgrade tiers, and the final tier often unlocks a completely new attack. Because of this, you should always push your core units to their max tier before expanding your roster. According to community reports, players who rush a single unit to max tier clear early stages 30-40% faster than players who spread upgrades evenly.
Game Modes and Progression Paths
All Star Tower Defense offers several ways to play, and each mode teaches different skills. This all star tower defense walkthrough covers the main modes so you know where to focus your time. For example, Story Mode is ideal for beginners to learn unit placement and economy management, while Infinite Mode pushes your late-game scaling and unit synergy to the limit. Meanwhile, Raids demand coordinated team play and specific counter units, which is why many players use them to grind for exclusive rewards. Understanding these differences early on prevents wasted resources, as a unit that dominates in Story Mode might be nearly useless in a Raid boss fight—so pick your progression path based on the mode you enjoy most.
Story Mode
Story Mode is the primary progression path for new players. It features a series of stages with increasing difficulty, and clearing stages unlocks new maps and sometimes new units. The mode is designed to teach you the game's mechanics gradually, which makes it the best place to practice astd how to play fundamentals. You can team up with friends in co-op, which makes the later stages significantly easier because you can cover each other's weaknesses.
Infinity Tower
The Infinity Tower is an endless mode where waves keep coming until you die. This mode is excellent for testing team compositions and learning which units scale well into late-game scenarios. Because there's no victory condition, the goal is simply to survive as long as possible and rack up rewards. Players report that Infinity Tower runs teach economy discipline better than any other mode, since you can't rely on a stage ending to reset your mistakes.
Summon Gate and Unit Collection
The Summon Gate is where you unlock new units using gems. The gate rotates its available units every hour, so checking back regularly is part of the game's daily loop. Some units are exclusive to the gate, and you can't get them through Story Mode rewards. The official game page notes that new units appear in the Summon Gate and Emote Shop every hour, so frequent visits keep your collection growing.
| Mode | Best For | Difficulty | Reward Type |
|---|---|---|---|
| Story Mode | Learning mechanics | Progressive | Units, cash, gems |
| Infinity Tower | Testing compositions | High | Gems, exclusive rewards |
| Co-op Story | Team play | Variable | Shared progression |
| Summon Gate | Unit collection | N/A | New units |
For players looking to optimize their early hours, focusing on Story Mode progression while checking the Summon Gate hourly gives you the fastest path to a strong roster. If you're struggling with a specific stage, consider reading our All Star Tower Defense beginner guide for stage-specific strategies that complement this overview.
Advanced Tactics for Consistent Wins
Once you've mastered the basics, these advanced tactics will push your win rate even higher, especially when you're grinding through the later stages of the all star tower defense walkthrough. Veteran players consistently rely on unit placement and timing over raw damage, which is the difference between scraping by and dominating every stage. For example, staggering your heavy hitters behind a tank like a maxed-out starter unit, rather than stacking them all in one lane, lets you maintain a steady DPS output while absorbing early wave pressure—this single adjustment often saves you from leaking a single enemy and keeps your economy snowballing into the boss fight.
Wave Timing and Cash Optimization
The wave timer starts as soon as you place your first unit, and every second before the wave spawns is a second you could be earning interest. Some players deliberately delay their first placement to bank extra cash, but this only works if you know the stage well enough to place everything quickly. A better approach is to place your core units immediately, then use the between-wave windows to optimize positions.
Unit Synergy and Team Composition
Certain units work better together, and building around synergy pairs multiplies your effective damage. For example, pairing a slow unit with a high-damage single-target unit lets the slow effect keep enemies in range longer, which increases total damage output. Similarly, placing a buff unit next to a splash damage unit turns a decent AOE into a map-clearing machine.
-
Slow + Single-Target DPS — the slow keeps enemies in range, maximizing damage uptime.
-
Buff + Splash — buffs amplify splash damage across multiple enemies at once.
-
Long Range + Short Range — long-range units cover the path while short-range units protect the base.
-
Boss Killer + Wave Clear — dedicated boss damage plus wave clear covers both threat types.
Reading Enemy Patterns
Every stage has a predictable enemy sequence, and learning these patterns lets you prepare before the wave even spawns. If you know a boss wave is coming, you can save your upgrade gold for the moment the boss appears. If you know a swarm wave is next, you can place splash units early. This predictive play is what separates mid-tier players from top-tier ones, and it's the core of advanced astd gameplay guide content.
Common Mistakes New Players Make
Even with a solid understanding of astd how to play, most new players fall into the same traps, and recognizing these mistakes early will save you from frustrating losses. The most common culprit is overspending on early-game units, like rushing to max out a low-tier character before your economy is stable. This leaves you with no cash to place a critical AoE attacker by wave 15, forcing a leak. Instead, follow the all star tower defense walkthrough pacing: upgrade your farm unit to level 3 first, then deploy your main damage dealer. This single astd gameplay guide tip—prioritizing income over raw damage in the first five waves—prevents the snowball effect where one weak round costs you the entire match. For more astd tips for new players, always check the unit's placement cost against your projected income before committing.
Over-Upgrading Early Units
It's tempting to max out your first unit as soon as you can afford it, but early units have low damage ceilings. Save your gold for mid-tier units that unlock around wave 10-15, because they scale much better into late-game content. A level 7 common unit is usually weaker than a level 4 rare unit, so don't sink resources into units you'll replace.
Ignoring Range Coverage
Placing all your units on one side of the map leaves the other side completely exposed. Check your range circles before confirming placement, and make sure every segment of the path has at least one unit covering it. Gaps in coverage are the most common reason players leak enemies, especially on maps with multiple path entrances.
Spending Gems Too Early
Gems are scarce in the early game, and spending them on the first summon gate pull you see is a mistake. Save your gems for guaranteed upgrades or for units that fill a specific gap in your roster. The summon gate is tempting, but the odds of getting a top-tier unit are low, and you'll need those gems for essential upgrades later.
For more targeted advice on specific stages and unit combinations, check our ASTD solo guide which covers advanced solo strategies, or our ASTD mobile tips if you're playing on a phone or tablet.
Frequently Asked Questions
What is the fastest way to learn astd how to play?
Start with Story Mode and focus on the first five stages to learn unit placement and upgrade timing. Don't skip ahead to Infinity Tower until you can clear Story Mode stages without leaking enemies. Practice the core loop of place, upgrade, and reposition until it becomes automatic.
How do I get more gems in All Star Tower Defense?
Gems drop from boss enemies and special events, and you also earn them from clearing Story Mode stages for the first time. The Infinity Tower also rewards gems based on how many waves you survive. Check the Summon Gate every hour because some rotations include gem rewards.
What is the best unit composition for beginners?
A balanced team with one single-target DPS, one splash unit, and one support unit covers most situations. Focus on upgrading your single-target DPS first, then add splash coverage around wave 10. This composition handles both boss waves and swarm waves effectively.
Can I play All Star Tower Defense with friends?
Yes, Story Mode supports co-op play, and teaming up makes later stages significantly easier. Coordinate your unit placements so each player covers different parts of the map. The official game page on Roblox highlights co-op as a core feature, and community reports confirm that coordinated teams clear stages much faster.
How often does the Summon Gate update?
The Summon Gate refreshes every hour, per the official game description, so check back often for new units and limited-time offers. Set a timer to grab rotations before they vanish. This free method is key to building a diverse roster while learning astd how to play efficiently.